Role
Creator — Product Designer, AI-paired build with Claude Code
Timeline
July 2026
Tools
Figma, Claude Code, Cursor, Next.js, Tailwind CSS, Base UI, Vercel, Resend
The Spark
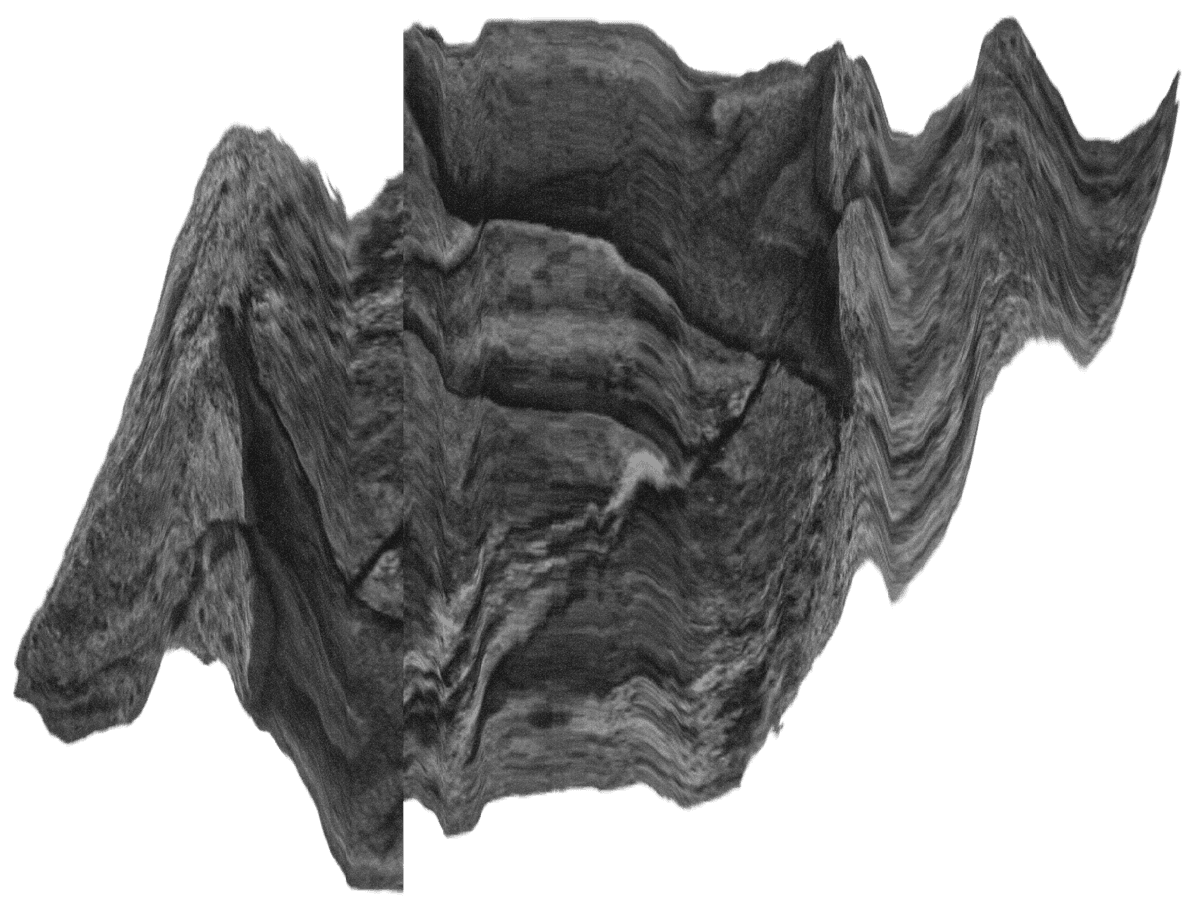
I kept seeing flatbed scanner art on social media — artists placing flowers, foil, and other objects on the bed, sometimes dragging them across it mid-scan to create glitch effects. Other work used tools like a "magic wand" scanner moved over a surface in the field. I loved this, especially combined with texture, typography, and shape. But I didn't own a flatbed scanner, and didn't have room for one. That gap became the idea: build a digital, web-based version of the effect, similar to what I'd seen in social filters.
Environment Setup
I started in Claude, describing the requirements as precisely as I could. Within minutes I had a rough PRD I could carry into Claude Code. Knowing this would take several iterations, I spun up a project in Cursor, loaded Claude Code in the terminal, and started with the PRD as my first prompt. Claude produced a working first pass of the web app in about ten minutes. I pushed it to a repo to pick back up later.
Working Sessions
My process leans on plenty of back-and-forth: I bring the creative direction and functionality requirements, Claude brings the speed to production. I started with the essential interaction — upload an image, hit play, drag the object around while the scan head reads line by line and reflects it in the output. Once that felt solid, I built out export options, then layered in effects one at a time: grain, texture, light leak, feathering. Only once the functionality was complete did I move to UI.
UI Enhancements
To keep Claude oriented across sessions, I set up Claude, changelog, and design markdown files, updating them after every session so the tool always had context on the overall vision.
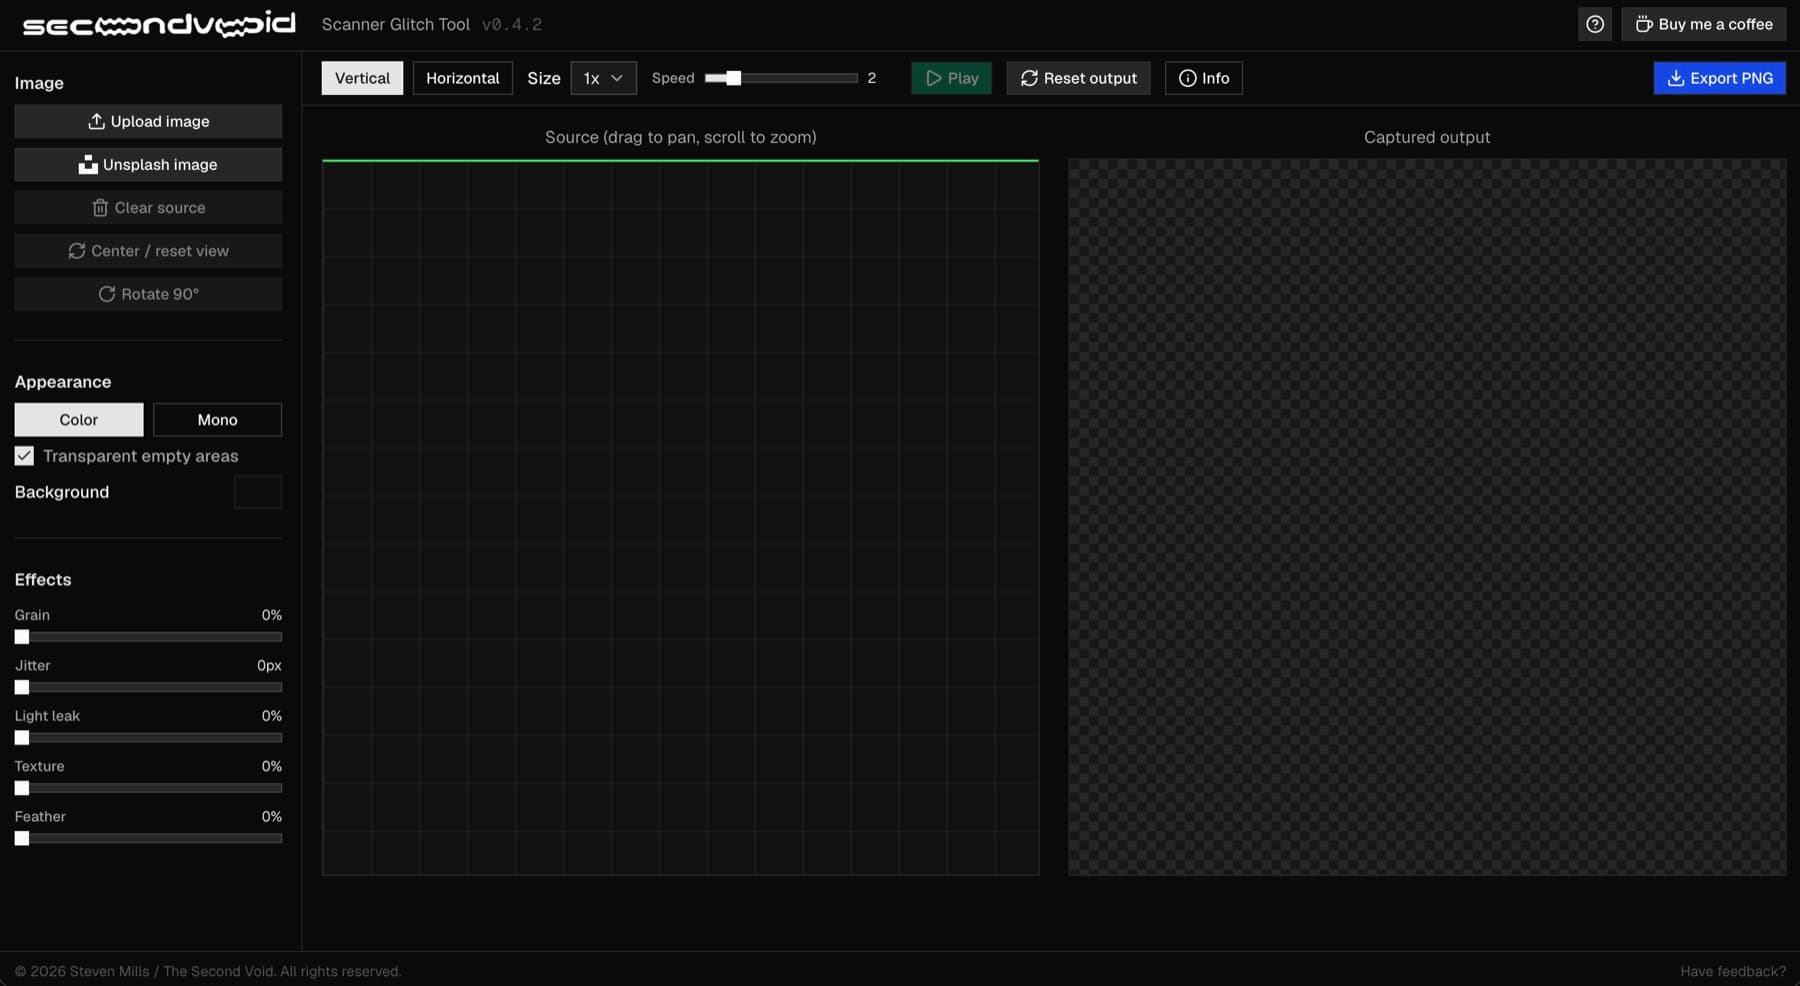
From there I worked through tool ordering and made sure the source and output views stayed within the viewport at all times. The first UI pass used all custom components, but I wanted the reliability of an established system, so I brought in Base UI and customized on top of it.
My original direction was a brutalist, tactile tool. I walked Claude through the reference points, and it rebuilt the components on Base UI to match. QA after that pass was rough — sliders and buttons were broken across the board — and we worked through the bugs one at a time. I also restructured the layout, consolidating controls from multiple top toolbars into a sidebar and single toolbar.
The brutalist direction wasn't quite landing, so I had Claude dial it back toward retro instead: sharp 0-radius corners, square slider controls, and several passes on spacing, type scale, and text styling. After multiple sessions, the UI was in better shape than I expected.
The Turning Point
Real Product
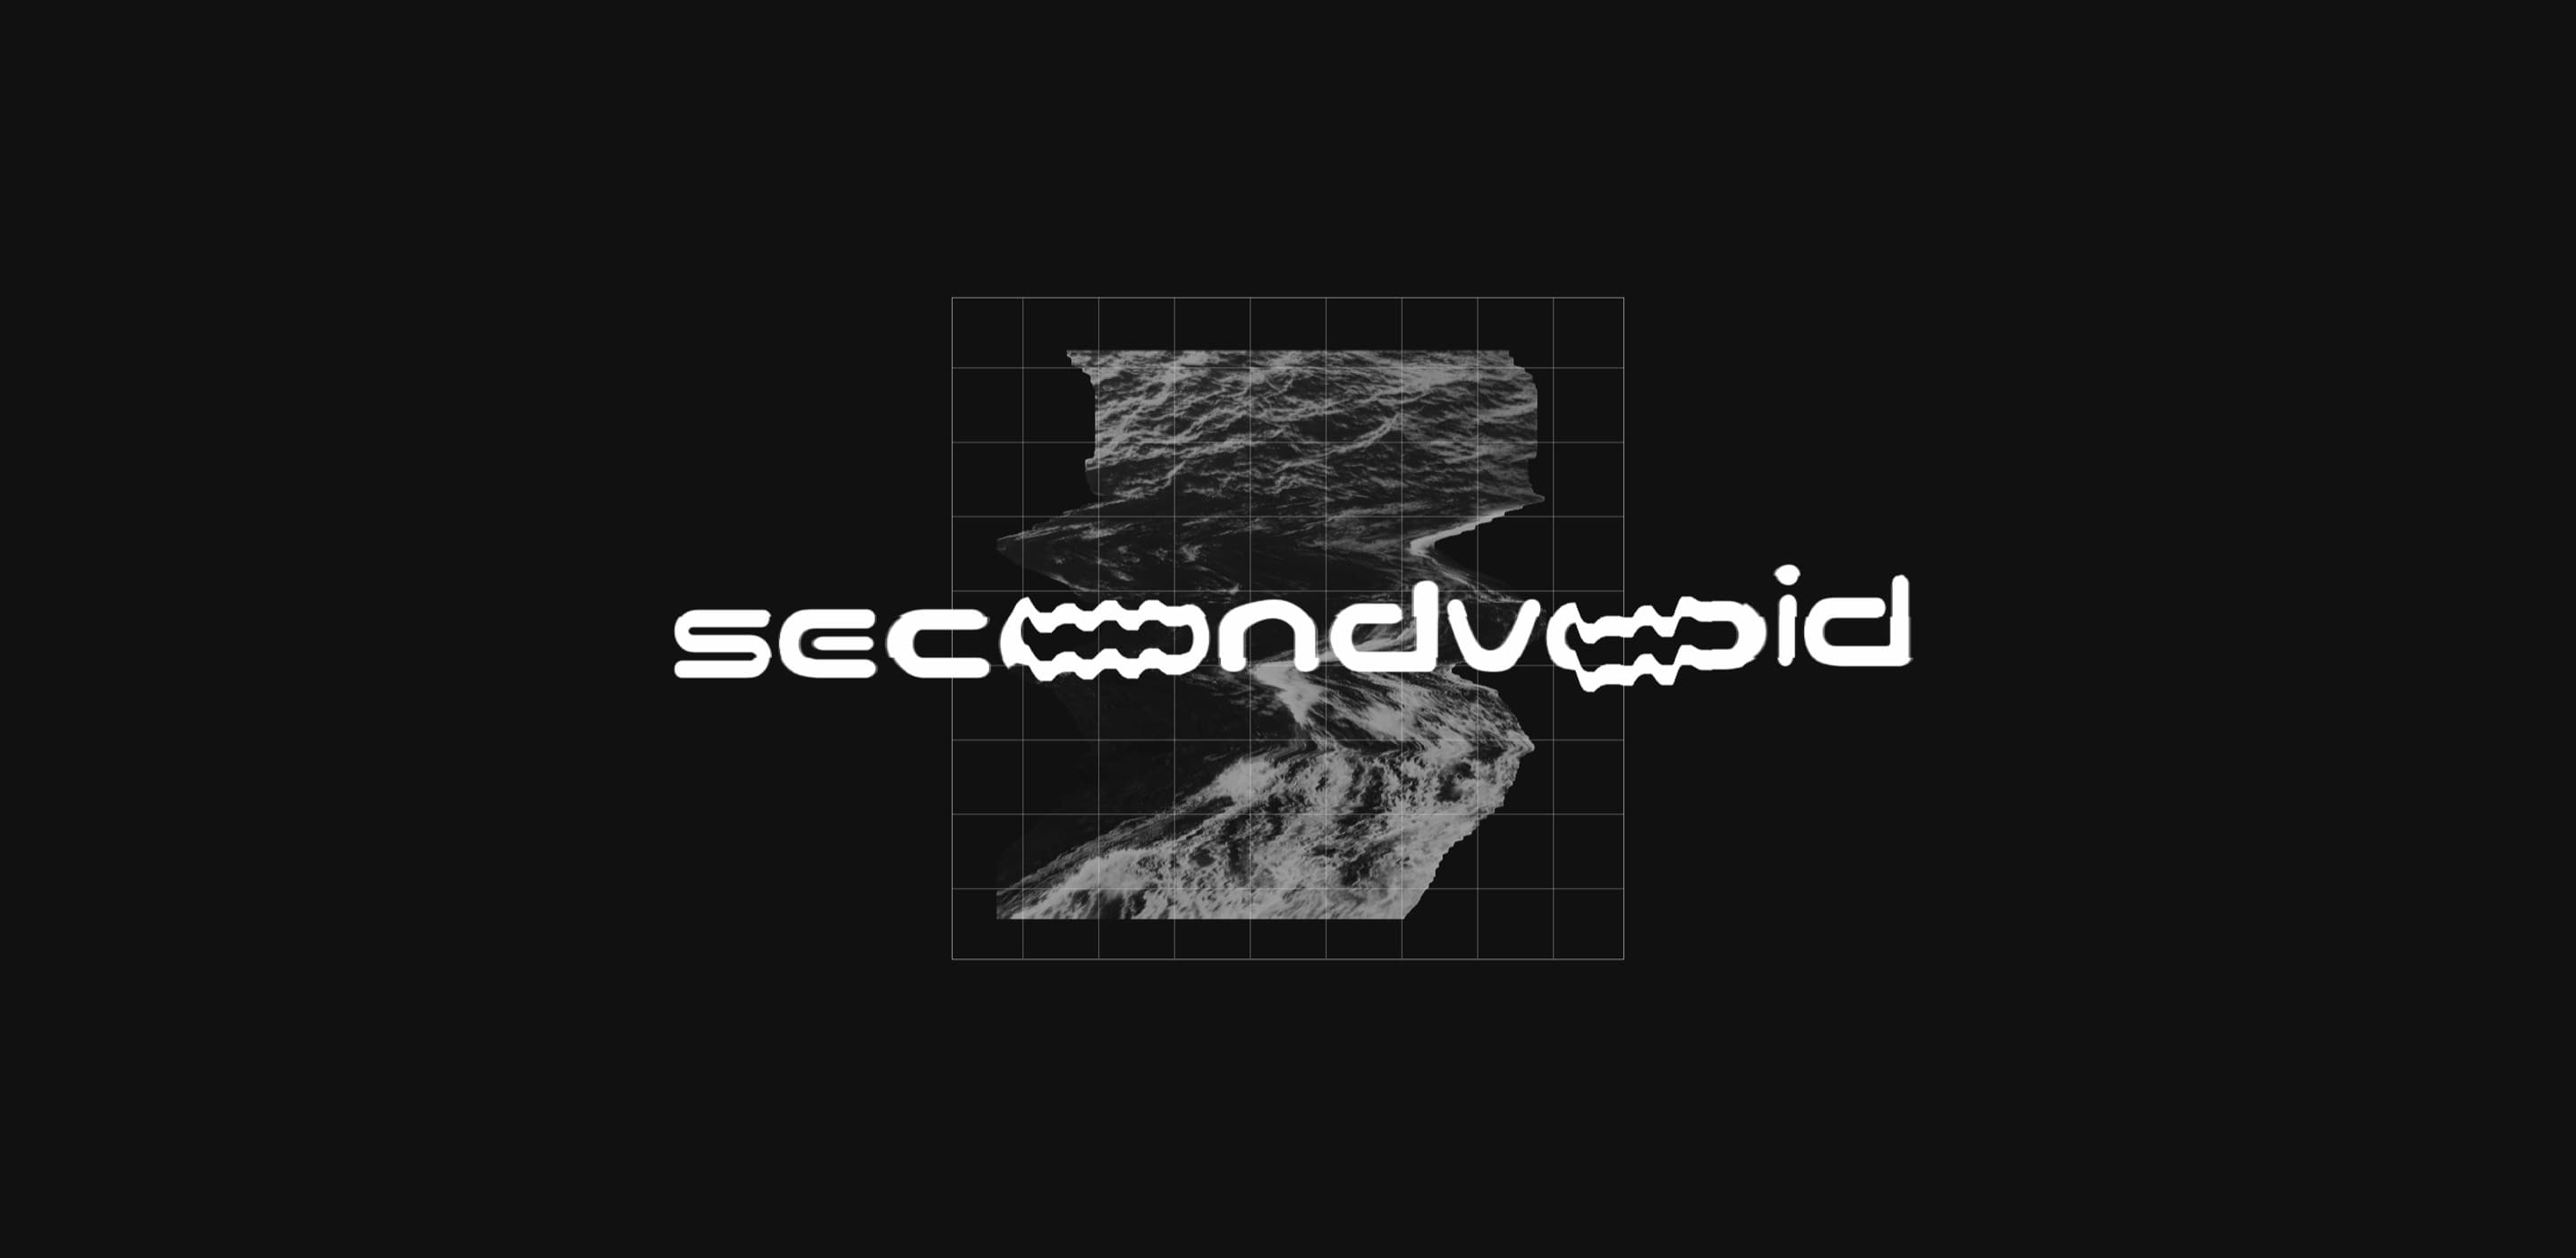
That's when it clicked — this could be a real product, something people would genuinely enjoy experimenting with. I branded it under a domain and social handle I already owned, thesecondvoid, and did some light brand work: a quick wordmark for the header, which I also pulled into the tool itself as a PNG and ran through the app's own glitch effects.
From there, more ideas followed: a proper footer with attribution, a way to collect support via "Buy Me a Coffee," and an Unsplash API integration so users could pull in free stock images to manipulate directly in the tool.
Onboarding
With the product taking real shape and most features locked, I built a splash screen to welcome new users, including a subtle animation and a message letting mobile visitors know the tool is desktop-only. Logic was added so the splash only appears for first-time users. Next came the onboarding tour — several rounds of refining the step order so each one made sense in context, plus the ability to skip or re-run it anytime.
What shipped
Live, production tool at thesecondvoid.com
Core slit-scan mechanic with grain, texture, light-leak, and edge-feather effects
Export up to 4x the on-screen resolution
Unsplash integration for pulling in free stock source images
Full onboarding: welcome splash, guided tour, and a desktop-only message for phone visitors
Added a post-launch feedback flow — a "Have feedback?" modal wired to email via Resend
I already owned the domain from months earlier, so launch just meant spinning up Vercel, connecting the domain, and wiring up GitHub autodeploy. The CLIs made this painless, and the tool was live shortly after.